Wednesday, July 22, 2015

Chutes, Ladders, and Laundry

When Cody was growing up, his family had laundry in the basement and the coolest way to get it there: A laundry chute.

When I was growing up, I used to watch this movie, Dunston Checks In, where Rupert Everett chases a monkey around a fancy hotel. There's a part in that movie where Everett sticks his head in a laundry chute to coax said monkey out from hiding.

Clearly, both of our childhoods led to this moment: We were going to make a laundry chute.

Actually, it wasn't until I was well into adulthood that I realized that houses could have laundry chutes. Dunston had always led me to believe that these were only available in luxury hotels. Thanks, Hollywood.

Anyway, we started with a cabinet.

This one!
 
This came from a Craigslist set of cabinets we got right after purchasing the house. They've treated us well! To see how we turned one of these cabinets into a bathroom vanity, click here.
 
We wanted the chute to be big enough to fit clothes into easily, but not so large that it would take up too much room in our closet. So, we removed the doors, cut off the edges, and turned it on its side.
 
Good start...but one side is bigger than the other.

Jig saws are my favorite saws to use.

Even!
 
It was a little short, so we built a stand for it. We also added trim pieces on the top for a more finished look.
 
It's starting to look like...something?
 
 
For the next step, we had to be ready for paint. This means my favorite part in all of woodworking: Sanding.
 
I'm so thrilled here.


All of that is completely sarcastic.
 
I do not like sanding, Sam I am. I do not like it on a boat, I do not like it with a goat. Okay, maybe it would be more enjoyable on a boat. I've never done that before. Regardless, sanding is not one of my favorite activities. BUT, it doesn't take very long when you have a good electric sander. All in all, I guess it's not that terrible. I guess.
 
The next day, Cody went to work and I stayed home to paint. We painted the bottom stand gray (the same color as our walls in the bedroom/closet. We painted the main part white (the same color as the trim).
 
The stand almost blends in to the basement floor. Look closely!
 
This is where I'm lucky to be engaged to an engineer. Cody designed the door to make it open like a mailbox. I would have had no clue how to make this work, except for moving the hinges to another side. So, I just let him do his thing on that one. After lots of math and drawing, here's the result:
 
Math! You can use it in the real world!
 
The next part was scary. We had to cut a hole in the floor. In our beautifully stained, recently finished floors! The horror!
  
Okay, okay. It wasn't that dramatic. We were nervous, though. Even when measuring and drawing out the square on the hardwood, I was holding my breath.
 
 
AAAAAAHHH.


To distract my nerves, I just held a vacuum cleaner and cleaned up all the saw dust.
 
 
Okay...not that bad.
 
From the picture, it looks like our clothes are going to fall straight into the sump pump. I think it's just my terrible photo angle. Plus, we'll end up framing that in, anyway. We couldn't think about that too much, because we were too excited to put our new product in the house! We attached our custom-engineered door, trimmed the bottom out with baseboard, and then marveled.
 
 
Whaaaaaat!
 
Of course, we had to test it out. But, we haven't built the laundry table to keep the clothes in a basket instead of on the floor (or in that pesky sump pump). So we used a ladder. Who knows? Maybe it would sort the clothes for us. You know, darks on top, lights down the steps?
 
(This is a video!)
 
Yeah, the ladder idea was just wishful thinking. However, we're super happy with the results. Dirty laundry is out of sight, and I don't have to drag it downstairs to clean it. Win-Win!


Monday, July 13, 2015

Setting the Bar

After we moved in to our new-old house, we were really excited to start the fun projects. The most successful one thus far (I think), is the bar in the kitchen. We talked forever about what we could use as the bar, and wanted to recycle something. We thought about barn wood, but we don't have any barns. We did have a ton of extra hardwood flooring, though! The old hardwood from the patch in the bedroom was in a pile in the basement. Could that work? Yeah, maybe.

First, the before pictures. The bar between the kitchen and the dining/living room was on the accent wall. With the kitchen coming around, the absence of the bar made the whole thing look really unfinished.


We also wanted to match the half wall above the basement stairs. But, we were kind of sad to cover it up. Apparently this piece of wood used to be in some kind of bar/hang out spot. It was covered in names and phone numbers from, well, who knows when?

Who are these people?!

So. Step one was to cover both walls with the shape of the bar/covering. We also added supports underneath.  


The wax paper was added so that we could paint these braces later. The idea came from Phillip, when we put up the interior door trim. We figured the same thing would work for this. It did. 

The next step was to add the hardwood and nail it in with the nail gun. The nail gun is totally my favorite tool to use. It always makes me feel like a badass. 

 Gettin' it.

Worked on the other wall, too. 

The best thing about using hardwood floor on the wall and the bar was that it was really easy to do. We just picked the pieces and made sure they looked randomly placed. When a piece was too big, I'd just ran out to the garage and saw it in half. The only hiccup was matching it on the edges. 

Tricky.

For the first picture, we had to rip a piece of hardwood in half using a table saw. For the second, we had to get rid of part of the corner using the Rockwell saw. I started counting how many different saws we used on this project, and it was ridiculous. 

1. Miter Saw
2. Circular Saw
3. Jig Saw
4. Table Saw
5. Rockwell Universal Saw 

Considering I didn't even know that there were this many different kinds of saws before we got this house, I did pretty well. 

Next, we had to sand and stain the bar. We used the same stain as we did on the actual hardwood.


Matching: Check.

Though it looked awesome, we still weren't finished. We trimmed both spaces with boards using 45 degree angles on the corners. (Also, I know how to do that now.)

Nail gun makes an appearance, once again!

Hopefully no one will write their names on this one.

After touch-up painting and polyurethane, this bar is going to be ready for dining. 

This is my fierce nail gun face.

And that's how you make a bar out of floors. 


Tuesday, June 30, 2015

Out with the Old, in with Our Stuff

After we moved into the house, everything seemed pretty surreal. I've seen so many stages and so much progress, and I had often forgotten that we would be living there someday. With so much more work to do, we were worried we wouldn't be in, even by the end of summer. One night after returning from a long night of work we talked about moving early.

So what if we didn't have the cabinets and the bar done?

So what if the basement would continue to be a construction zone?

So what if there was still a huge pile of carpet in the garage?

So what if we didn't have appliances? 

...Wait, what?

Yeah, we didn't have any kitchen appliances when we moved in. That is, unless you counted the dishwasher we found. We never hooked that dishwasher up, and it was sitting on top of the pile of carpet, so I didn't.

But, we decided to set an early moving date anyway. We would buy appliances, and they would be there soon enough. And the work that could get done during the time we were usually traveling between houses would make it worth it. That's it. That's all. Moving no matter what. 

The next day I bought Cody a mini fridge for his birthday. In addition to my classroom fridge, we could live. It was something.

When we moved, we did everything ourselves, which means skinny-armed me picked up half of all of our heavy furniture. YES! GO ME! I also moved all of the food from the old house, hoping it would fit somewhere to stay edible.

...Also hoping this would last across town.

It was funny to see things start coming together. Even though we had no doors inside the house (like, anywhere), seeing furniture in rooms was definitely a good feeling. 

Our first projects were: 1. Get appliances. 2. Get a dumpster.

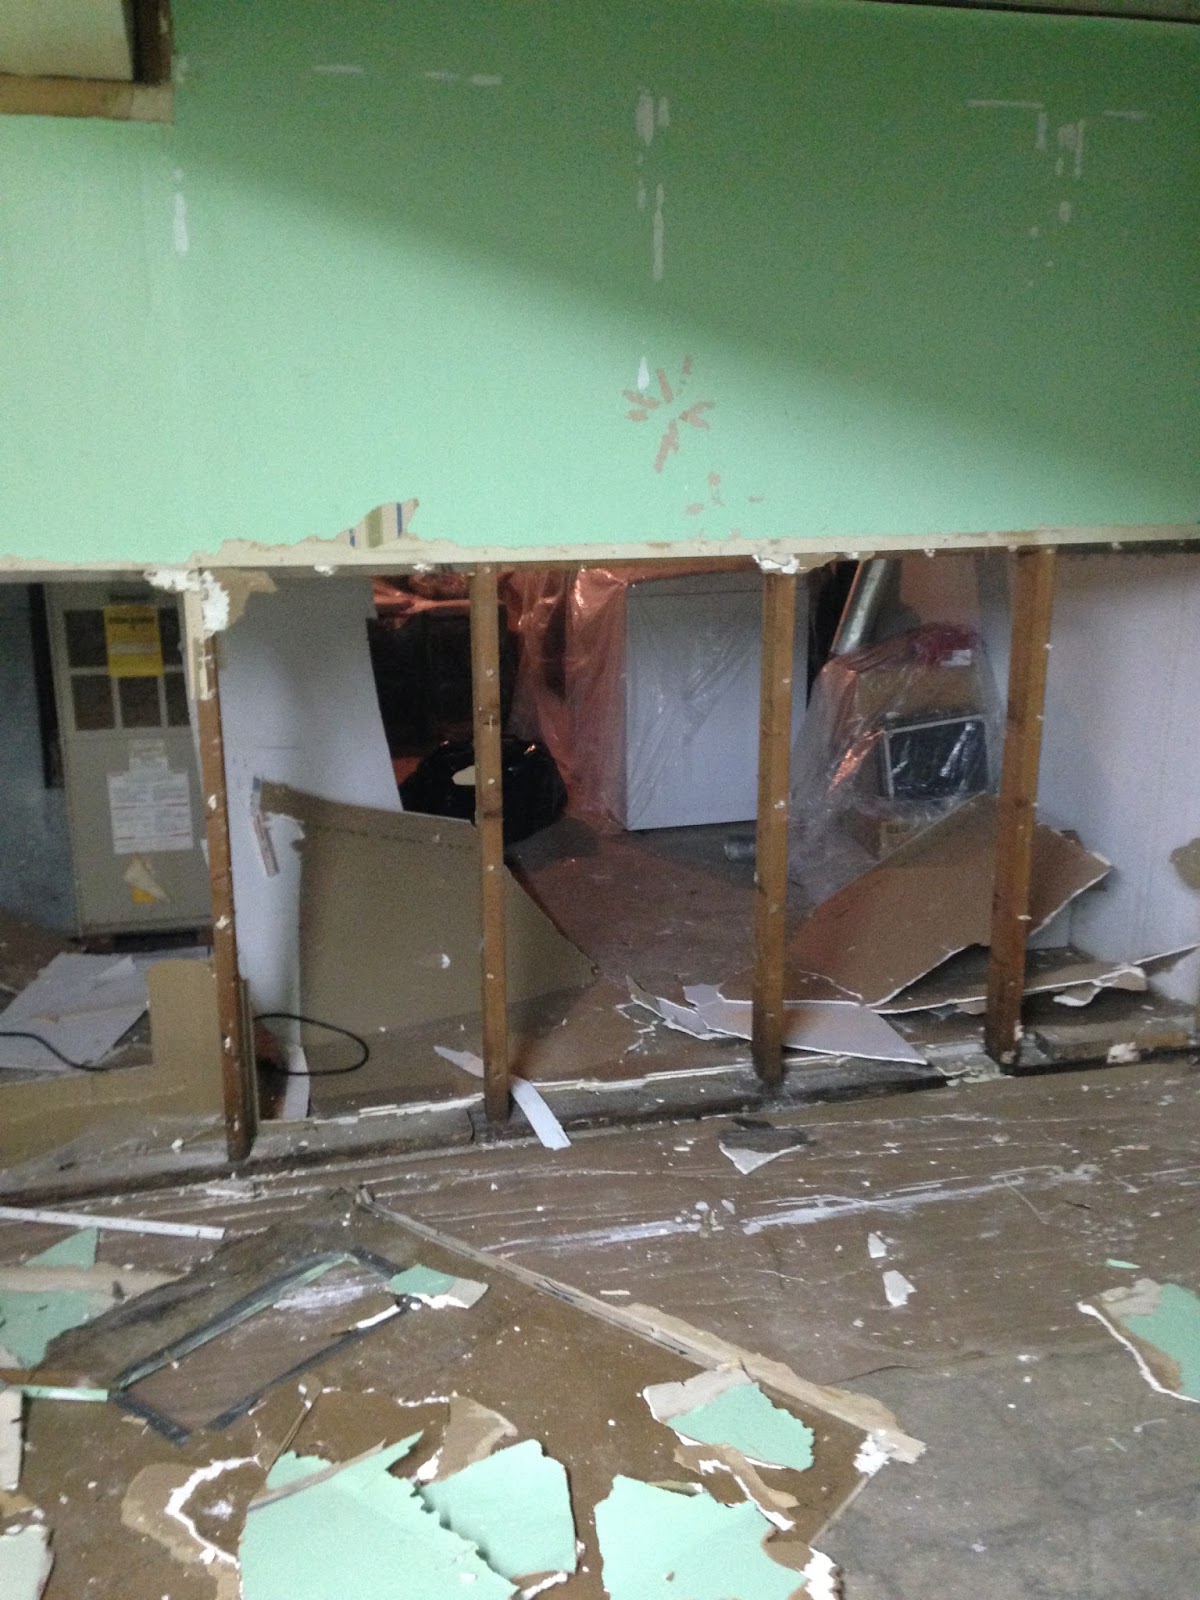
The dumpster was a necessity. We had so much trash! Like I said before, we had all the carpet piled in the garage, and the basement needed to be completely gutted. While the basement wasn't ever finished, the walls that were there were in terrible shape. Unfortunately our Waste Management-issued trash can couldn't hold all of that. 

Problem.

We had both been looking forward to gutting the basement. Yes, we wanted to get rid of the walls that had water damage, and yes we wanted the space more open before we finish it ourselves. But mostly, I couldn't wait to get rid of these colors! The first (above), was a terrible pistachio green...or mint (sans chocolate chip) ice cream. 

The second, I think, must have been called "Peeps Yellow."

Multiple levels of Yikes.

I think the theme here was either Easter-colored snacks or gender-neutral nursery. Regardless, this is me getting rid of that:

Muscles!

Obviously, I'm not proficient in using a sledge hammer. That didn't stop me from trying! We spent an entire Friday night getting rid of the walls in the basement, and it was awesome. If you're looking for a fun date night, I'd highly recommend it :)

Beautiful!

The whole "out with the old" theme continued with landscaping. We were pretty tired of seeing the shrubs in front of the living room window. Although we're not sure what we want to put there yet, we wanted to get rid of those suckers while we had the dumpster. But, how could we do it?


You can take him out of the country...

This was hilarious, because a group of teenagers was walking down the sidewalk while this was going on. They were probably all adolescent and judge-y, but hopefully they got a laugh out of it!

More exciting, we actually did get appliances. At first, I was thinking, "These are huge! They don't belong here!" but I've gotten used to them. 

Whaaat?! 

We're working on the dishwasher situation. There will be more on that later. But for right now, this is awesome! It's been really nice to work on the house and just stop to say, "Hey, wanna cook dinner?"

First meal in the house: Pizza!

We both love and have missed cooking, and were sick of frozen pizza from the late dinners at the old house. So, it's ironic and ridiculous that this was the first thing we made in the new kitchen. Turns out, frozen pizza is just convenient (and delicious) no matter where you are. Also, does anyone need a knife set?

We've had many other projects that I'm looking forward to including in the blog. But before this post ends, I want to assure you...we did eventually get doors.

They work, too!


Monday, June 22, 2015

Maegan and Cody vs. the Floors: Episode 3 (Series Finale)

So, I took an extended, unintentional blog-cation. I wrote this months ago, saved it as a draft, and never added pictures. Today (now that we have internet in the house!), I decided to revisit, revise, and post! Here goes...

Last time on Maegan and Cody vs. the Floors:

  • There was a push-sander.
  • Maegan was hesitant about the stain.
  • It worked out fine.

In this episode, we tackle polyurethane and baseboards. What could possibly go wrong? 

Well...many things. Especially for two people that have never worked with polyurethane before. We bought two brand new paint rollers, some trays, and three gallons of the shiny stuff. We had a strategic plan of how to get across the whole house and trap ourselves in the kitchen.

Oh, and I had to buy some of those hospital shoe covers. You know, the kind surgeons wear? So, we were obviously stylin'.

Also, he's using a Swiffer. Attractive, right?

We started in the master bedroom and worked our way to the front of the house. Everything seemed to be going fine, until we noticed these weird bubbles...

Now, if you've read this blog from the beginning, you know that we have had trouble with paint bubbles before. We knew better this time. Leave it alone. Walk away. See what it looks like tomorrow.

Weeellllll...these bubbles stayed. When we ran our hands across our should-be-smooth floor, it felt like a hotel room floor after coming back from the beach. It was rough, bumpy, foggy in some spots, and it looked terrible. Apparently polyurethane likes to bubble up on the first coat. It has something to do with getting into the uneven parts of the floor. Google reassured us that this happens to most people on the first coat.

Google also told us to sand the floors and apply another coat. So, we sanded the entire floor (again), and it sucked. We knew we would have to be very particular with the second coat, so that we wouldn't have to do a third. 

As we contemplated this, we started on the baseboards. I'm extra proud of our system for painting baseboards. Here's a picture:


Finally! Photographic proof that I did stuff, too!

After placing the baseboard pieces on the trailer, I came across with a roller. We used oil-based paint, so it was really smelly. I was glad to be outside. 

Then, Cody came back across with a trim brush to smooth out the paint. The end result looked awesome. This is probably the most successful and efficient we've ever been on this house.


Putting in the baseboards, though not as simple, went just as smoothly. We also put up door trim and jambs. These finishing projects are pretty awesome; I love seeing things come together and actually look like a house 


I've never really appreciated baseboards before. They add so much of a finished look, though! I guess there are some things you grow up seeing, never really paying attention to. Then, you become an adult/homeowner, and you think, "Huh. Those things are really nice. Who thought of those? They must have hated painting down to the floor, and said, 'To heck with it! I'll just put up boards that go all the way around the floor!' What a good idea." 

(Okay, okay...That thought can probably only come from thinking about baseboards. Still, they're very practical.)

Like I said before, I wrote this post quite a while ago. I'm glad I kept it, however, because now I remember doing all of that stuff! Since that time, we have gone to Florida for a wedding, moved in, ended our old lease, celebrated Father's Day with our Fathers, and done lots of work on the house. 

Stay tuned for an update on the bathroom and kitchen! I won't wait so long to post for those :)


Sunday, May 31, 2015

Maegan and Cody vs. the Floors: Episode 2

Last time on Maegan and Cody vs. the Floors:

  • Maegan and Cody said GOODBYE to the carpet.
  • Maegan struggled with laminate glue.
  • Phillip and Cody patched a giant hole in the hardwood.
  • That new patch was a lot shinier than the old stuff.

So much has happened since then! I'm a little behind on the blogging, but I'll keep posting things in chronological order, just to keep us all sane. Let's continue in this hardwood floor saga...

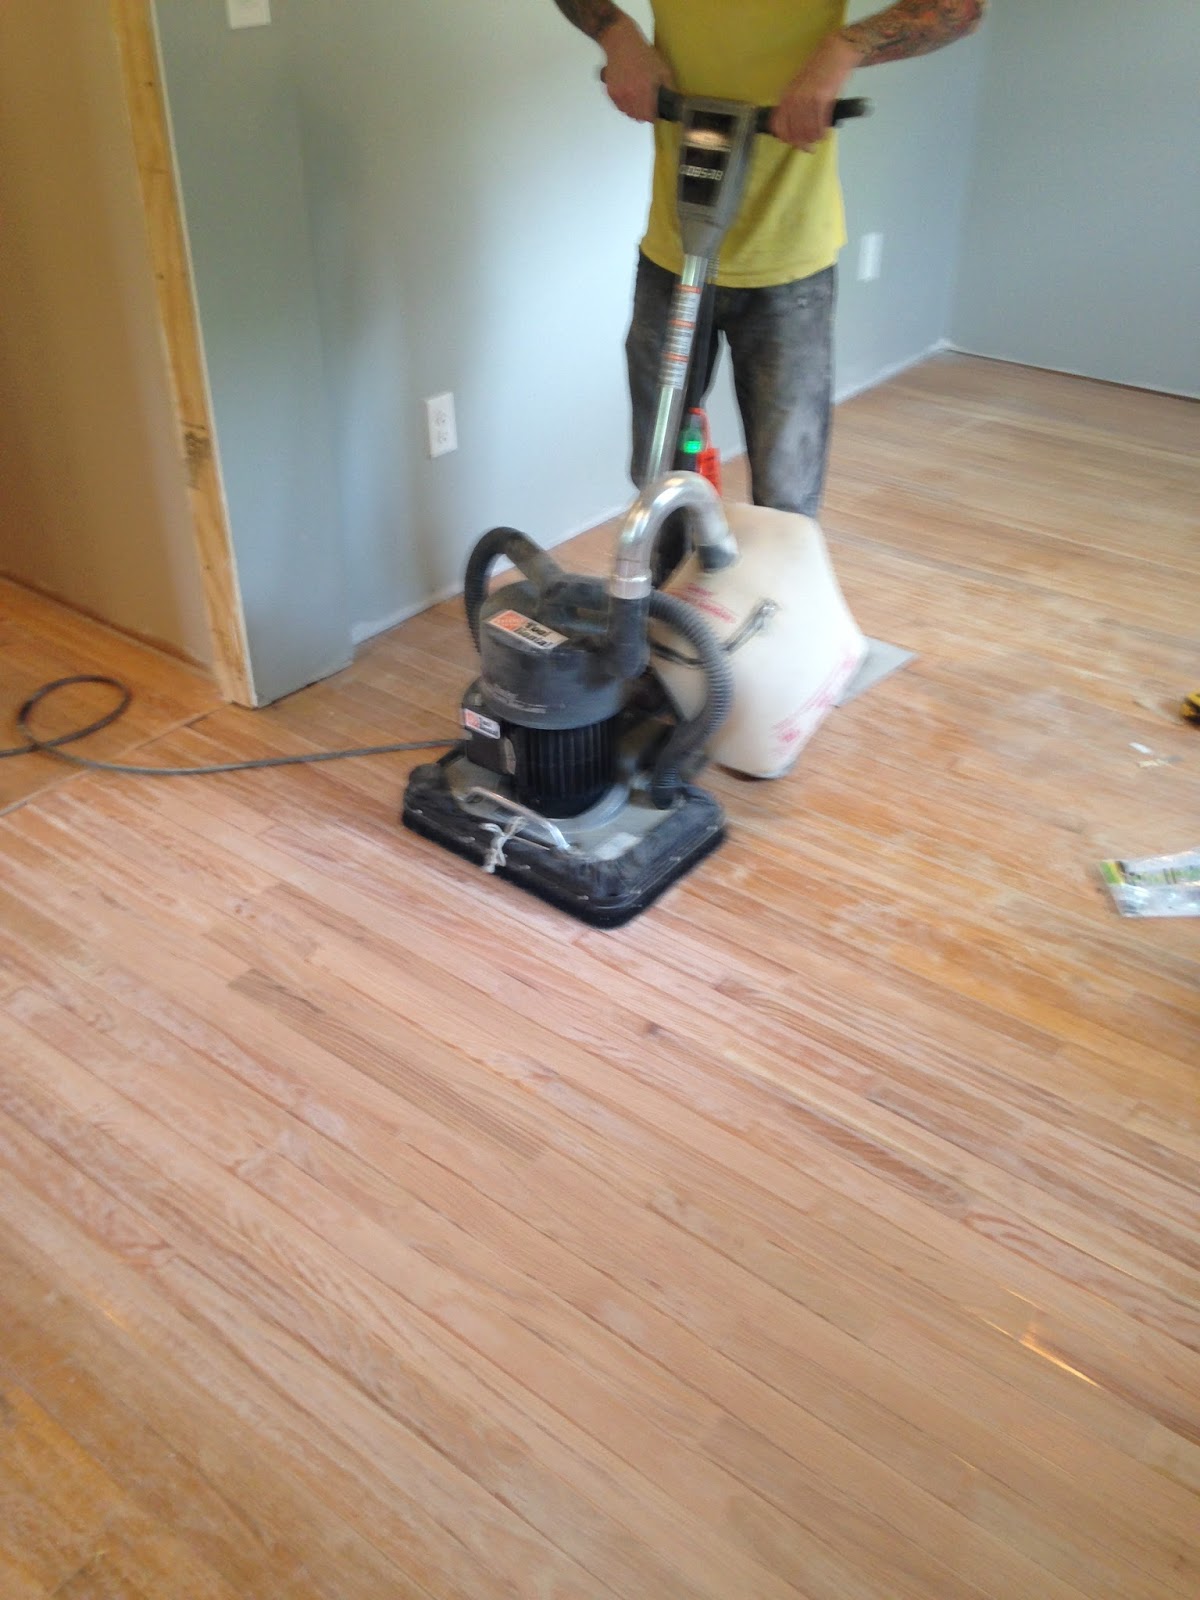
We knew we would have to sand all the floors before staining them. So, we rented a push-sander from Home Depot. I don't think they're called push-sanders. But they remind me of push-mowers, so that's what I've called it.

This could be an advertisement for your tool rentals, Home Depot.

It's exactly like using a push mower. Except instead of cutting grass, you're making dust. So much dust. During allergy season, this is the worst. Especially since we live in the #1 Worst City for Allergies in the U.S. I read that somewhere. It's completely true. 

Dust City

I want to disclaim here that I did my fair share of sanding. There are, however, no pictures to document this.

We sanded the entire house pretty easily. But the brand new hardwood in the bedroom was readily available to make this process difficult. Thank goodness, because we might have fallen over if something in this house had worked out perfectly.

Shiny and new...not always preferable.

We started with the push-sander, using 30 grit sandpaper. Those familiar with how sandpaper grits work will understand that 30 grit is almost the same as sanding with gravel. The shiny new hardwood still gleamed like the Chrysler Building. We tried putting the 30 grit on a hand-sander, but it was just too rough to stay put. We also tried to pour paint thinner directly onto the new floor (cringe), and sand over that. We were stumped.

Whatever that company used to protect the hardwood is good stuff. Even the people at Lowe's told us that our task was near impossible. Did we even need floors? What if we just put in trampolines instead of floors? That was a childhood dream of mine. At least they wouldn't have to be sanded...

Cody's face = our feelings for a whole 3 days.

I know what you're thinking: why not just buy unfinished hardwood? Yes, that would be easier. But, the stain wouldn't match with our existing floors. They had to be somewhat similar to the old stuff. For some reason, though, Lowe's doesn't sell used hardwood from the 1960s. If only there was a big enough market for that.

Here we go again.

The trampolines were a no, so we had to keep sanding. At the end, it was just the combination of all he elbow grease we had. (We have four elbows, combined.) We were satisfied enough with the sanding job. 

After cleaning up all the dust, we were ready to begin staining! I was so excited for this part. After we wiped up the first bit of stain, however...

"What do you think?" Cody asked.

"I don't know," I replied.

"Well do you like it or not?"

"It looks...uh...I need to see a bigger section."

Every single imperfection in the floor was showing. Foot traffic, carpet staples, random big dark spots: everything! Much more than the original floor showed.

I was nervous.

Contemplating.

I had worried about the floor not matching, I had worried about letting people see the mistakes. But once I saw a whole room with the stained floors, I forgot about all (most) of it. This house has been lived in, and this house has been walked on. Maybe showcasing this imperfect floor could be a tribute to the history behind it. Maybe highlighting the imperfections, glorifying the foot traffic paths, and sharing that history with others would be special. 

Not solid, not consistent...it's perfect!

It adds character. I've heard that phrase a thousand times in my life, and it makes sense now.

Honestly, the floors look awesome. After two coats of polyurethane, they were perfect. 

"These are dancin' floors!" - Cody

The new part...was still annoying. We had to scruff it up to give it some character. We tried to match the patterns in the existing floors, and used hammers and a variety of knives to make it worn.

Close enough...yeah?

It doesn't match up perfectly, but we did it, and it's ours. (And if it looks bad, there's always area rugs!) I'm so happy with the rest of the floors, though. We've put so much "new" into this house, and it's nice to have something old. I might be wrong, but I think that some people might want these floors. If anyone ever asks how we did it, I'm going to have to say this: "It's about 40 years of work; we just didn't do all of it ourselves." 

Maegan and Cody vs. the Floors continues! Stay tuned for Episode 3: Polyurethane and baseboards.