Short Dresser
Chest of Drawers
Short Chest of Drawers
Tall End Table
Tall Wide End Table
Literally, nothing worked. It doesn't help that when you type "vintage" or "antique" in front of anything, it ups the price by $100 or more. We were stuck.
After hanging out in the garage for a couple of hours, it finally hit us. It helped that we were surrounded by a surplus of kitchen cabinets, as we had just acquired those from the same website that had given us so much struggle before. Extra kitchen cabinet = potential vanity.
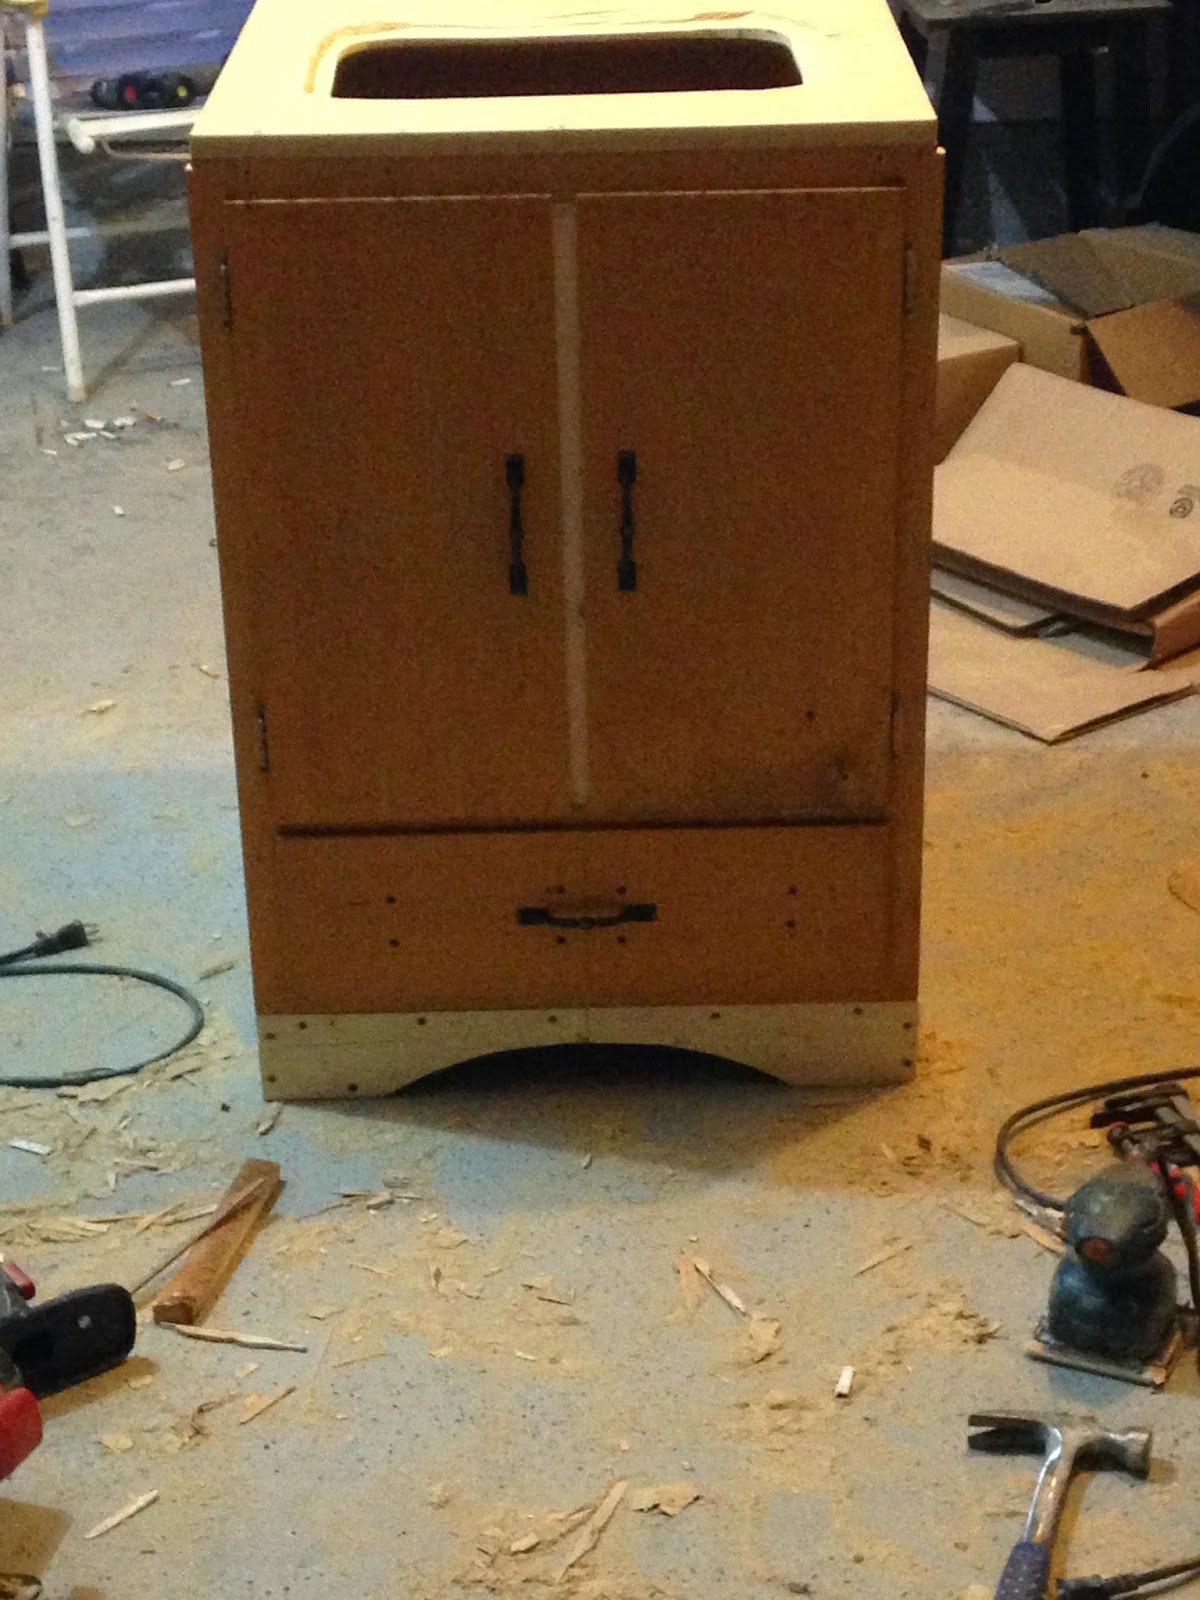
Random piece of furniture: accomplished.
It had to be turned upside down, but that ended up being the best part about it. After we added a base...
BOOM. Vanity.
...well, almost.
We were ecstatic. It's been a big project, and we're still not done. But as we wait for stain to dry, I decided to write this post about our progress.
Right here, it still looks like a cabinet turned upside down. But, we were most excited about the bottom drawer. No one has that! I'm not really sure what we'll put there, but the possibilities are endless: Q-tips, cotton balls, fingernail polish stash, extra deodorant (can't have too much of that)...pretty much anything!
We had to make this more vanity-ish, so our first thought was adding the sink. As I said before, this was Cody's dream project, and he wanted something like a metal pan.
And that's what we got!
For the thousandth time, it was Phillip that saved us on this one. He brought up an oil pan straight from his garage, It's perfect for the whole shabby-chic/repurposed thing we have going on.
So far, $0 spent.
Then, we needed to start on the doors. The cabinet had one solid door. We wanted two. So that's what we did.
Just a few dollars spent on wood, thus far.
Then, there was the whole "making doors" thing. We split the existing cabinet door, and added holes for hinges.
Making the doors was fun. I love using a jig saw, it's probably my favorite saw (and the one I feel safest controlling). We used that to create the edges of each door.
Two doors! We did it!
Testing out handle placements - I think they look pretty good.
The next step was painting. We had decided on staining the top, and painting the rest. We are pretty certain this vanity is going to be unlike most you'll find at Lowe's. Honestly, that's the main reason why Cody wanted to do it, and why I agreed.
We tried using a paint gun, but ended up rolling the last few coats. Regardless, the paint gun is pretty fun.
Paint guns make you feel like a badass.Worth it.
At this point, we could look at it and totally forget it used to be a kitchen cabinet. It was coming together!
Before and after first coat. Only $28 dollars for paint
Final Look
Next, we had to get ready to add trim, sink, and the top. I still love the jig saw, but the miter saw has to be a close second. It is so easy and quick. Plus, it makes you feel like you're really talented. Thanks to Phillip for letting us borrow it!
Precision.
We added the trim at a 45 degree angle, which wasn't difficult since we had the miter saw. With the top added, it was starting to look exactly how we had pictured.
45 degree corners = fancy
Now, we are just waiting on the stain to dry, and we can add the doors/drawer. faucet, and drain. Stay tuned for a finished product!


Wow! You two are awesome. I'm so proud of you for stepping out of your box and learning new skills you can use the rest of you lifes rather than paying someone to do this for you.
ReplyDelete