Sunday, May 31, 2015

Maegan and Cody vs. the Floors: Episode 2

Last time on Maegan and Cody vs. the Floors:

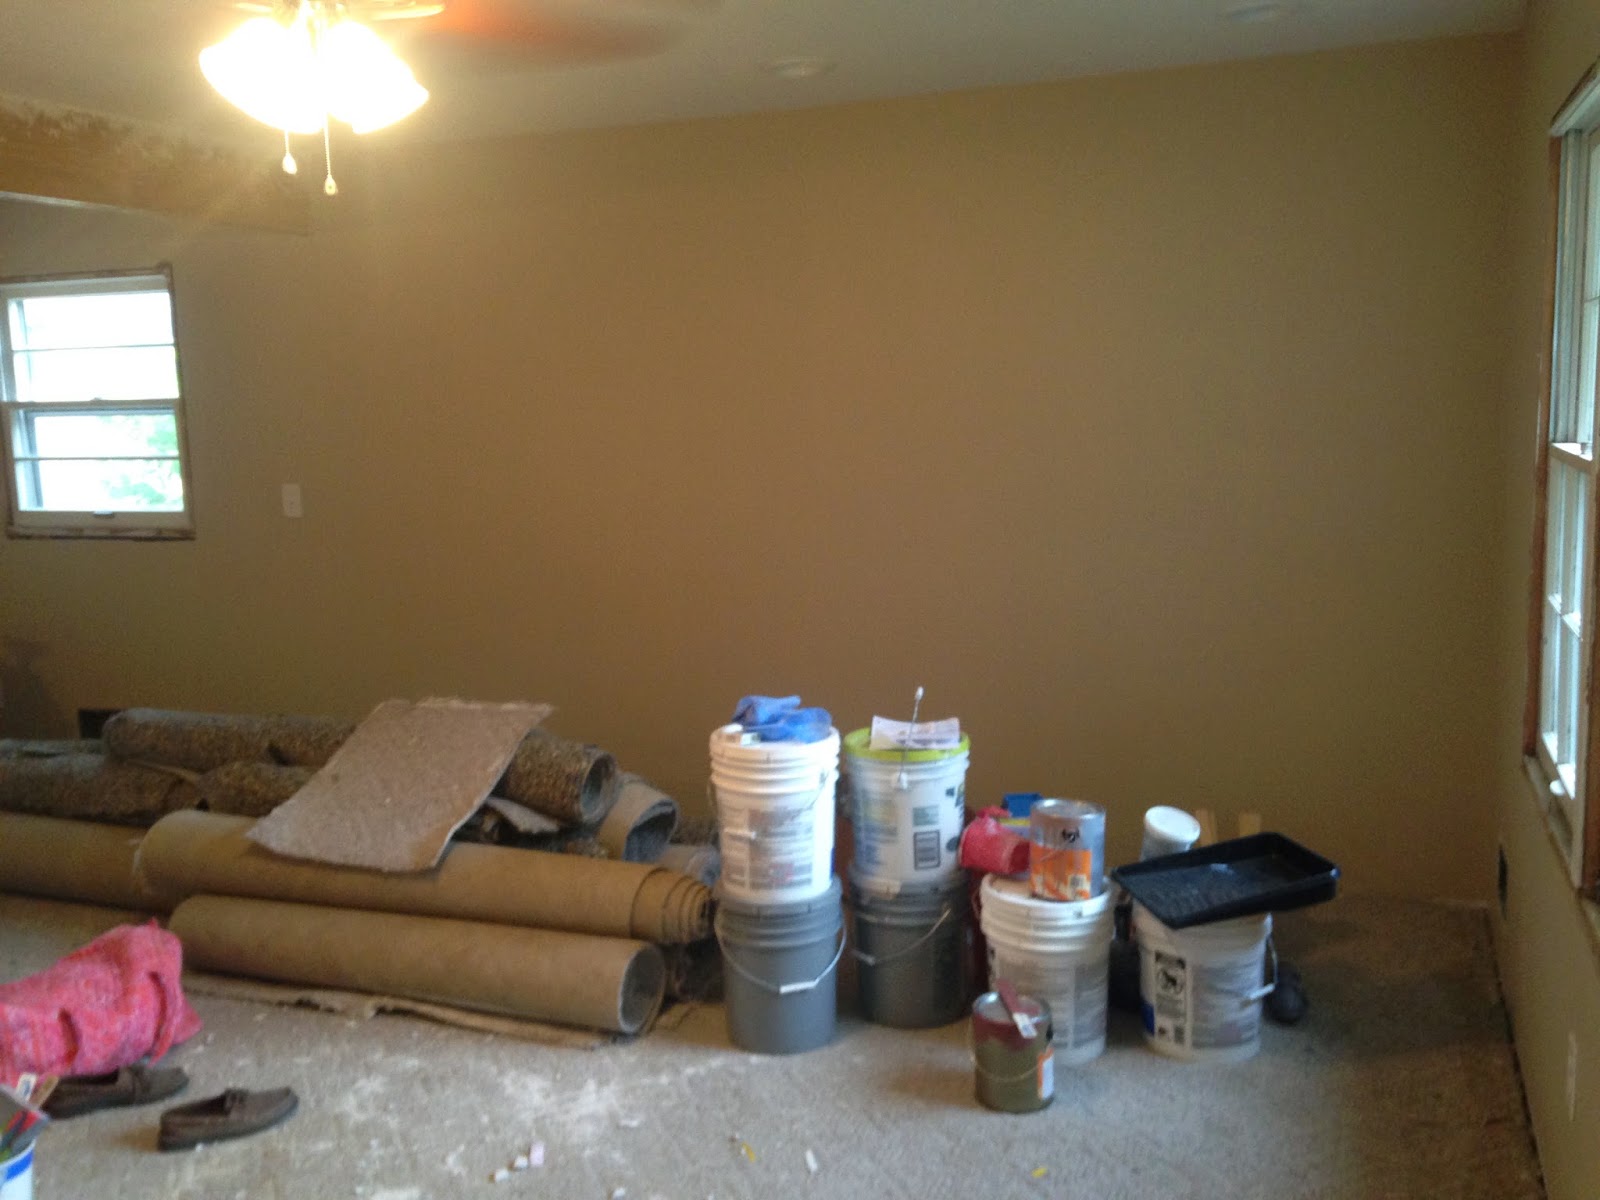
  • Maegan and Cody said GOODBYE to the carpet.
  • Maegan struggled with laminate glue.
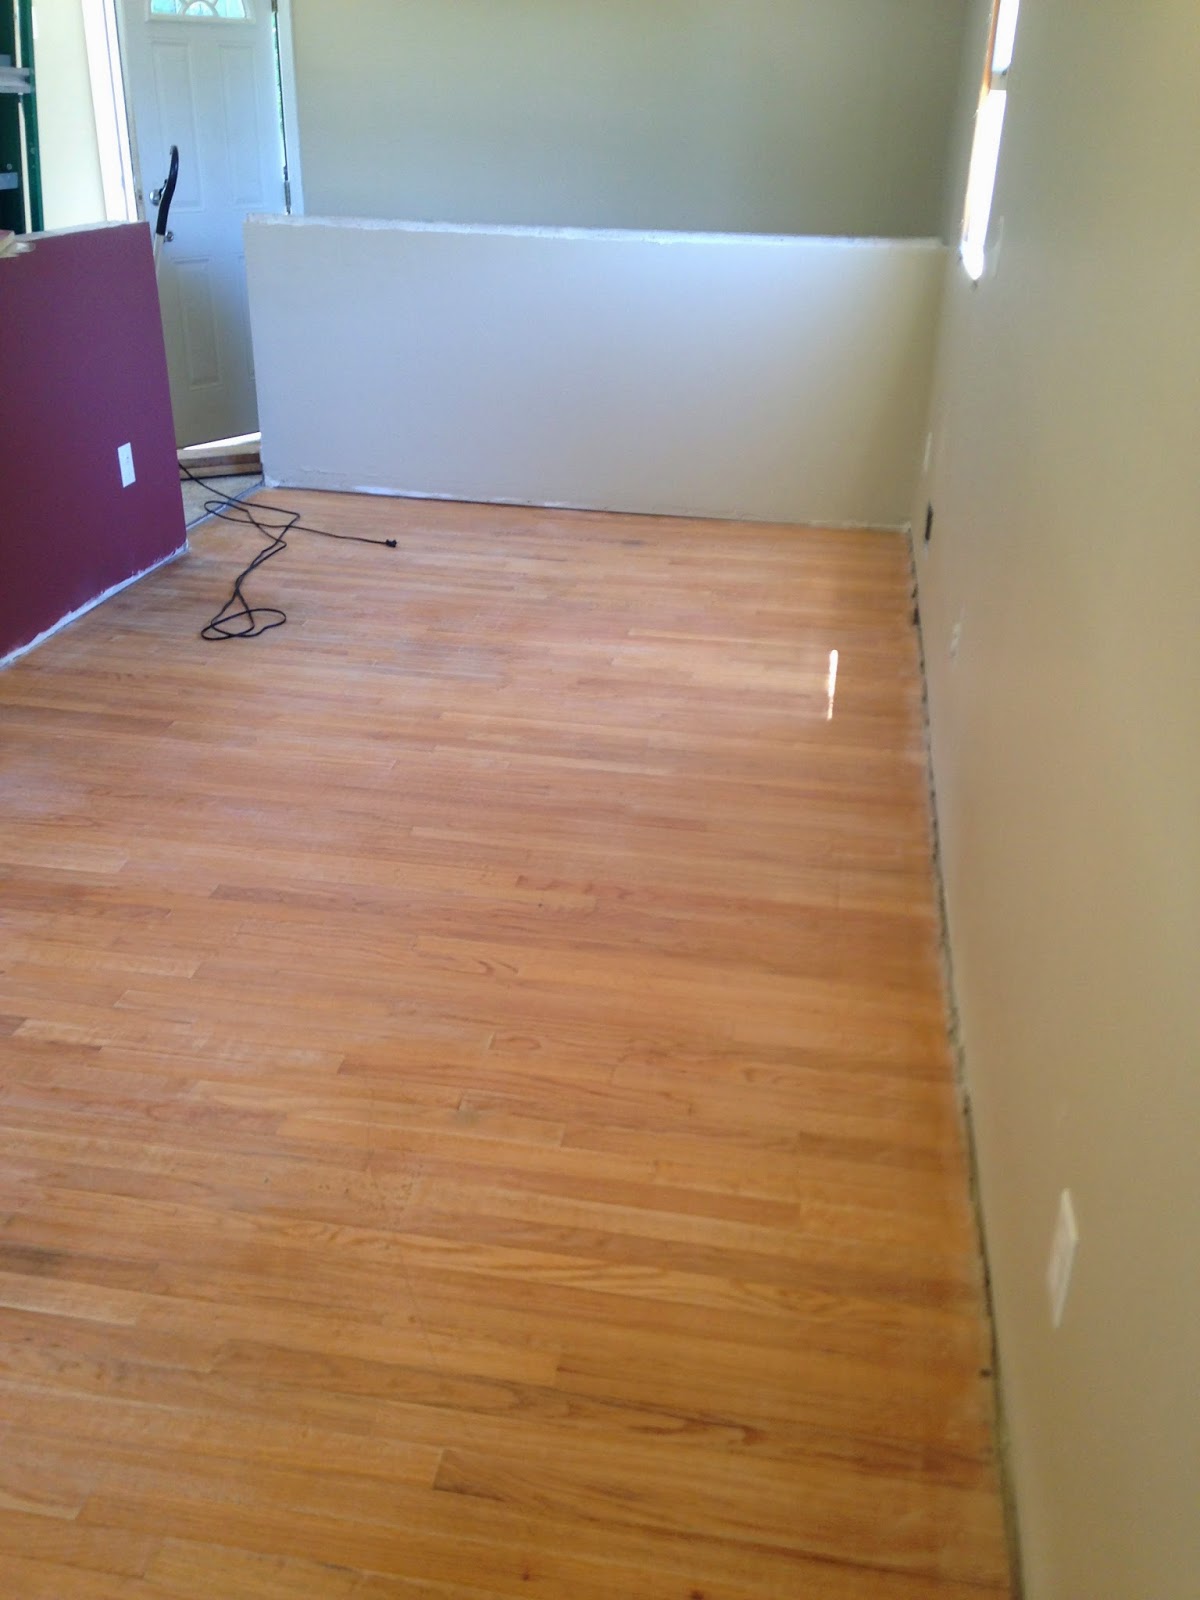
  • Phillip and Cody patched a giant hole in the hardwood.
  • That new patch was a lot shinier than the old stuff.

So much has happened since then! I'm a little behind on the blogging, but I'll keep posting things in chronological order, just to keep us all sane. Let's continue in this hardwood floor saga...

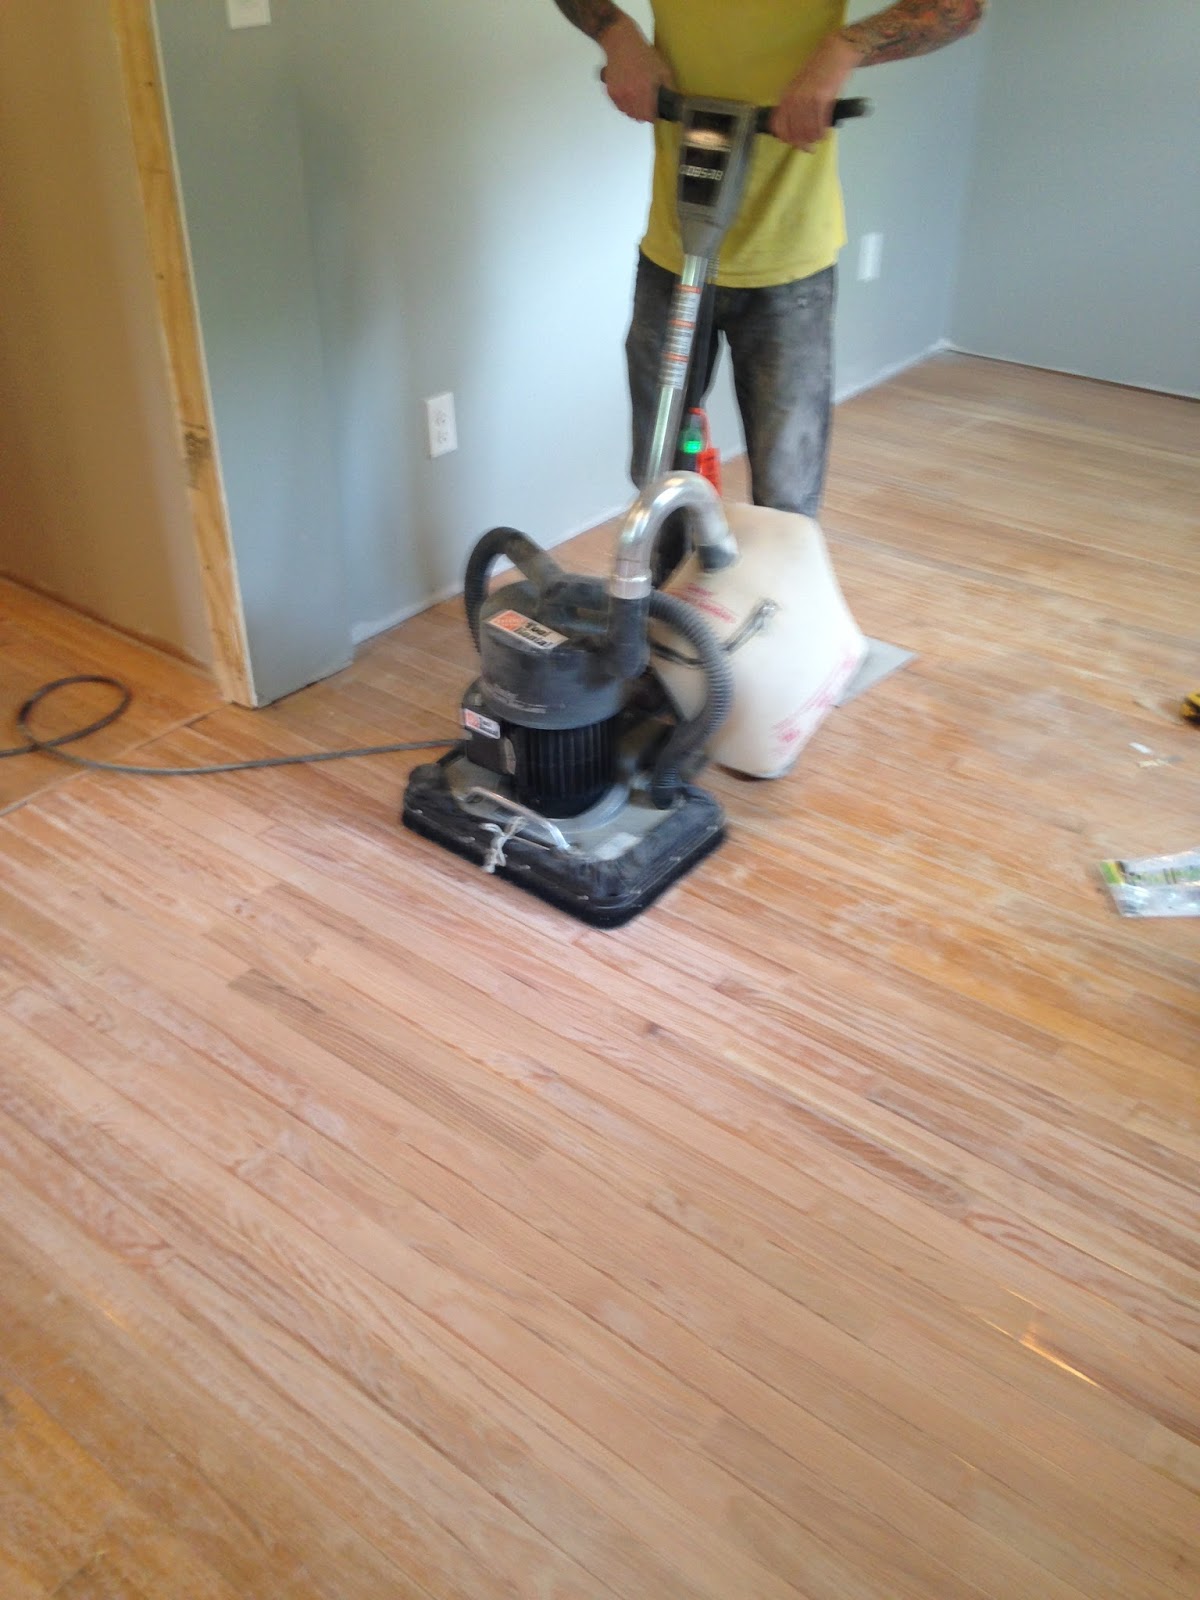
We knew we would have to sand all the floors before staining them. So, we rented a push-sander from Home Depot. I don't think they're called push-sanders. But they remind me of push-mowers, so that's what I've called it.

This could be an advertisement for your tool rentals, Home Depot.

It's exactly like using a push mower. Except instead of cutting grass, you're making dust. So much dust. During allergy season, this is the worst. Especially since we live in the #1 Worst City for Allergies in the U.S. I read that somewhere. It's completely true. 

Dust City

I want to disclaim here that I did my fair share of sanding. There are, however, no pictures to document this.

We sanded the entire house pretty easily. But the brand new hardwood in the bedroom was readily available to make this process difficult. Thank goodness, because we might have fallen over if something in this house had worked out perfectly.

Shiny and new...not always preferable.

We started with the push-sander, using 30 grit sandpaper. Those familiar with how sandpaper grits work will understand that 30 grit is almost the same as sanding with gravel. The shiny new hardwood still gleamed like the Chrysler Building. We tried putting the 30 grit on a hand-sander, but it was just too rough to stay put. We also tried to pour paint thinner directly onto the new floor (cringe), and sand over that. We were stumped.

Whatever that company used to protect the hardwood is good stuff. Even the people at Lowe's told us that our task was near impossible. Did we even need floors? What if we just put in trampolines instead of floors? That was a childhood dream of mine. At least they wouldn't have to be sanded...

Cody's face = our feelings for a whole 3 days.

I know what you're thinking: why not just buy unfinished hardwood? Yes, that would be easier. But, the stain wouldn't match with our existing floors. They had to be somewhat similar to the old stuff. For some reason, though, Lowe's doesn't sell used hardwood from the 1960s. If only there was a big enough market for that.

Here we go again.

The trampolines were a no, so we had to keep sanding. At the end, it was just the combination of all he elbow grease we had. (We have four elbows, combined.) We were satisfied enough with the sanding job. 

After cleaning up all the dust, we were ready to begin staining! I was so excited for this part. After we wiped up the first bit of stain, however...

"What do you think?" Cody asked.

"I don't know," I replied.

"Well do you like it or not?"

"It looks...uh...I need to see a bigger section."

Every single imperfection in the floor was showing. Foot traffic, carpet staples, random big dark spots: everything! Much more than the original floor showed.

I was nervous.

Contemplating.

I had worried about the floor not matching, I had worried about letting people see the mistakes. But once I saw a whole room with the stained floors, I forgot about all (most) of it. This house has been lived in, and this house has been walked on. Maybe showcasing this imperfect floor could be a tribute to the history behind it. Maybe highlighting the imperfections, glorifying the foot traffic paths, and sharing that history with others would be special. 

Not solid, not consistent...it's perfect!

It adds character. I've heard that phrase a thousand times in my life, and it makes sense now.

Honestly, the floors look awesome. After two coats of polyurethane, they were perfect. 

"These are dancin' floors!" - Cody

The new part...was still annoying. We had to scruff it up to give it some character. We tried to match the patterns in the existing floors, and used hammers and a variety of knives to make it worn.

Close enough...yeah?

It doesn't match up perfectly, but we did it, and it's ours. (And if it looks bad, there's always area rugs!) I'm so happy with the rest of the floors, though. We've put so much "new" into this house, and it's nice to have something old. I might be wrong, but I think that some people might want these floors. If anyone ever asks how we did it, I'm going to have to say this: "It's about 40 years of work; we just didn't do all of it ourselves." 

Maegan and Cody vs. the Floors continues! Stay tuned for Episode 3: Polyurethane and baseboards.


Monday, May 25, 2015

Maegan and Cody vs. the Floors: Episode 1

Before we even bought this house, we could see little hints of hardwood floor underneath the gross, stained carpet that currently lived there. It was one of the selling factors for us: we both love hardwood floors, and it's not that difficult to refinish existing flooring, right?

Well, no...it is that difficult. We should be used to this by now!

I'll rephrase that. Most of it isn't that difficult, but as per the usual, we encountered some problem areas.

We pulled up the carpet and were really excited:


GOODBYE, CARPET! GOOD RIDDANCE!

We were so ecstatic to see the hardwood, but we had two problems.

1. Someone had put a square of laminate in front of the door, and there was dried glue all over it.
2. We would have to patch the places where the closets used to be in the master bedroom.

Because the second problem was not in my caliber, I got to work on the patch of dried glue. 

Oh, dear.

Breaking a sweat, with little to no progress

This putty knife sure isn't doing it.

I ended up using so many tools to remove all of the glue:
- Putty knife (too weak)
- Rags and towels soaked in water (too annoying)
- Razor blade knife (too strong)
- Electronic sander (good enough!)

In this lengthy and tedious process, I got a bit bored and started making shapes.

It's Kentucky!

Okay, it's not perfect. It might be Virginia. But I tried! After a ton of elbow grease, I got all of the glue off and we could see real floors throughout the living room. 

Finally.

Meanwhile, in the master bedroom, Cody was busy tearing out old hardwood and planning the patchwork. I had decided to see how things were coming.

Oh no, why did I come look at this?

We ended up buying new hardwood to cover the patch. The old hardwood we tore out will be used for a later project (FORESHADOWING!). Phillip and Cody's friend, Jesse, were there to help lay the new floors. Our system was good: Cody cut the hardwood on the deck, handed it in through the window, and Phillip would nail it into the floor. 

Thanks, guys!


Kind of like a drive-through window. Except with a saw.

When it was all done, it looked great but it didn't match. That was a job for a new day, however.

Is that middle part...shinier?

This is a cliffhanger for Episode 2...


Monday, May 11, 2015

A Splash of Color and a Huge Surprise

The weeks seem to be flying. The school year is coming to an end quickly, and it already feels like summer. We're so ready to be living in this house, we can't stand it!

On Friday night, I painted the ceilings. I quickly learned that when you're slinging rollers over your head, paint gets everywhere. I was covered in little white freckles by the time I was finished. I wore a hat, to keep it from getting in my hair, and it still found it's way in there. Word to the wise: if you ever paint a ceiling, wear a shirt you don't care about. Light colors are probably better. And if you typically wear glasses, put in your darn contacts.

Probably the most unattractive selfie in existence. 

However, life is still happening and sometimes we have to do things on the weekends. This past weekend, my dear, dear friend Chelsea had a wedding shower near my hometown. Of course I wasn't going to miss it. Even though I was so happy to see her and celebrate her wedding, I was pretty sad to leave the house for a couple days.

The shower was beautiful, and I had a great time! It happened to be on Mother's Day weekend, so I got to celebrate with my beautiful Grandma and Step-mom the next day. It was a good visit, and Cody was hard at work on the house while I was gone.

I kept in touch over the weekend, and he had said things were slow-going. We had installed a garbage disposal, and something with the plumbing wasn't working out. Phillip was there to help us on that, and things just weren't shaping up (or so Cody said...more on that later).

What?

I couldn't get over this. WHY IS THERE AN EXTRA L? If someone knows, please explain it to me. I don't know if it's just a catchy name, a weird (yet somehow acceptable) spelling, or if it was the old-school way to do things. If I had had my red ink pen...oh, GE would have been in trouble.

Anyway, I came back to Louisville expecting to paint. That's what Cody and I had planned to do for the week. I had plans to be at the house every day after school to get some actual color on the walls!

Cody beat me to the house and was sitting on the swing when I arrived. I thought that was strange, since he had our bag of work clothes, and normally has some sort of project he's been thinking about all day at work. Regardless, I put it out of my mind and unlocked the door.

That's not the primer we did last week...


I was shocked!

The walls were painted, the ceiling fans were up, outlet and light switch covers were attached, and in EVERY ROOM! I couldn't believe it. I just kept going into different rooms and squealing like a little girl. Cody followed me around; all sheepish and grinning.

"Do you like it?" he had asked. 

"Really?!" My reaction was probably hysterical. Because yes, yes of course I liked it!

Apparently, both Cody's mom and dad were there on Saturday. They not only fixed the plumbing issues, but painted all evening and worked late. I can't even begin to describe my gratitude and surprise. I'm so lucky to be coming into such a caring and hardworking family! Thank you so much, Terri, Phillip, and Cody. You are all completely wonderful.

Okay, now for some pictures:

Master Bedroom/Closet


Master Bedroom

Hallway

Kitchen

Everything looked amazing. They only left our accent wall, so that I could paint that little guy. So that's what I did this afternoon:


Wet Paint

So, things are starting to come together. Stay tuned for our upcoming adventure with floors!


Sunday, May 3, 2015

So, We're Making a Vanity

For the past month, Cody has had this dream of taking some type of furniture and turning it into a vanity. I fully supported this dream, thinking it cool and unique. However, our problem was finding that "some type of furniture." What do you even search for on Craigslist? We spent hours on that site searching for the following:

Short Dresser
Chest of Drawers
Short Chest of Drawers
Tall End Table
Tall Wide End Table

Literally, nothing worked. It doesn't help that when you type "vintage" or "antique" in front of anything, it ups the price by $100 or more. We were stuck.

After hanging out in the garage for a couple of hours, it finally hit us. It helped that we were surrounded by a surplus of kitchen cabinets, as we had just acquired those from the same website that had given us so much struggle before. Extra kitchen cabinet = potential vanity.

Random piece of furniture: accomplished.

It had to be turned upside down, but that ended up being the best part about it. After we added a base...

BOOM. Vanity. 
...well, almost.

We were ecstatic. It's been a big project, and we're still not done. But as we wait for stain to dry, I decided to write this post about our progress.


Right here, it still looks like a cabinet turned upside down. But, we were most excited about the bottom drawer. No one has that! I'm not really sure what we'll put there, but the possibilities are endless: Q-tips, cotton balls, fingernail polish stash, extra deodorant (can't have too much of that)...pretty much anything!

We had to make this more vanity-ish, so our first thought was adding the sink. As I said before, this was Cody's dream project, and he wanted something like a metal pan.

And that's what we got!

For the thousandth time, it was Phillip that saved us on this one. He brought up an oil pan straight from his garage, It's perfect for the whole shabby-chic/repurposed thing we have going on. 

So far, $0 spent.

Then, we needed to start on the doors. The cabinet had one solid door. We wanted two. So that's what we did.

Just a few dollars spent on wood, thus far.

Then, there was the whole "making doors" thing. We split the existing cabinet door, and added holes for hinges.

Making the doors was fun. I love using a jig saw, it's probably my favorite saw (and the one I feel safest controlling). We used that to create the edges of each door.

Two doors! We did it!

Testing out handle placements - I think they look pretty good.

The next step was painting. We had decided on staining the top, and painting the rest. We are pretty certain this vanity is going to be unlike most you'll find at Lowe's. Honestly, that's the main reason why Cody wanted to do it, and why I agreed. 

We tried using a paint gun, but ended up rolling the last few coats. Regardless, the paint gun is pretty fun.

Paint guns make you feel like a badass.Worth it.

At this point, we could look at it and totally forget it used to be a kitchen cabinet. It was coming together!

Before and after first coat. Only $28 dollars for paint

Final Look

Next, we had to get ready to add trim, sink, and the top. I still love the jig saw, but the miter saw has to be a close second. It is so easy and quick. Plus, it makes you feel like you're really talented. Thanks to Phillip for letting us borrow it!

Precision.

We added the trim at a 45 degree angle, which wasn't difficult since we had the miter saw. With the top added, it was starting to look exactly how we had pictured. 

45 degree corners = fancy

Now, we are just waiting on the stain to dry, and we can add the doors/drawer. faucet, and drain. Stay tuned for a finished product!